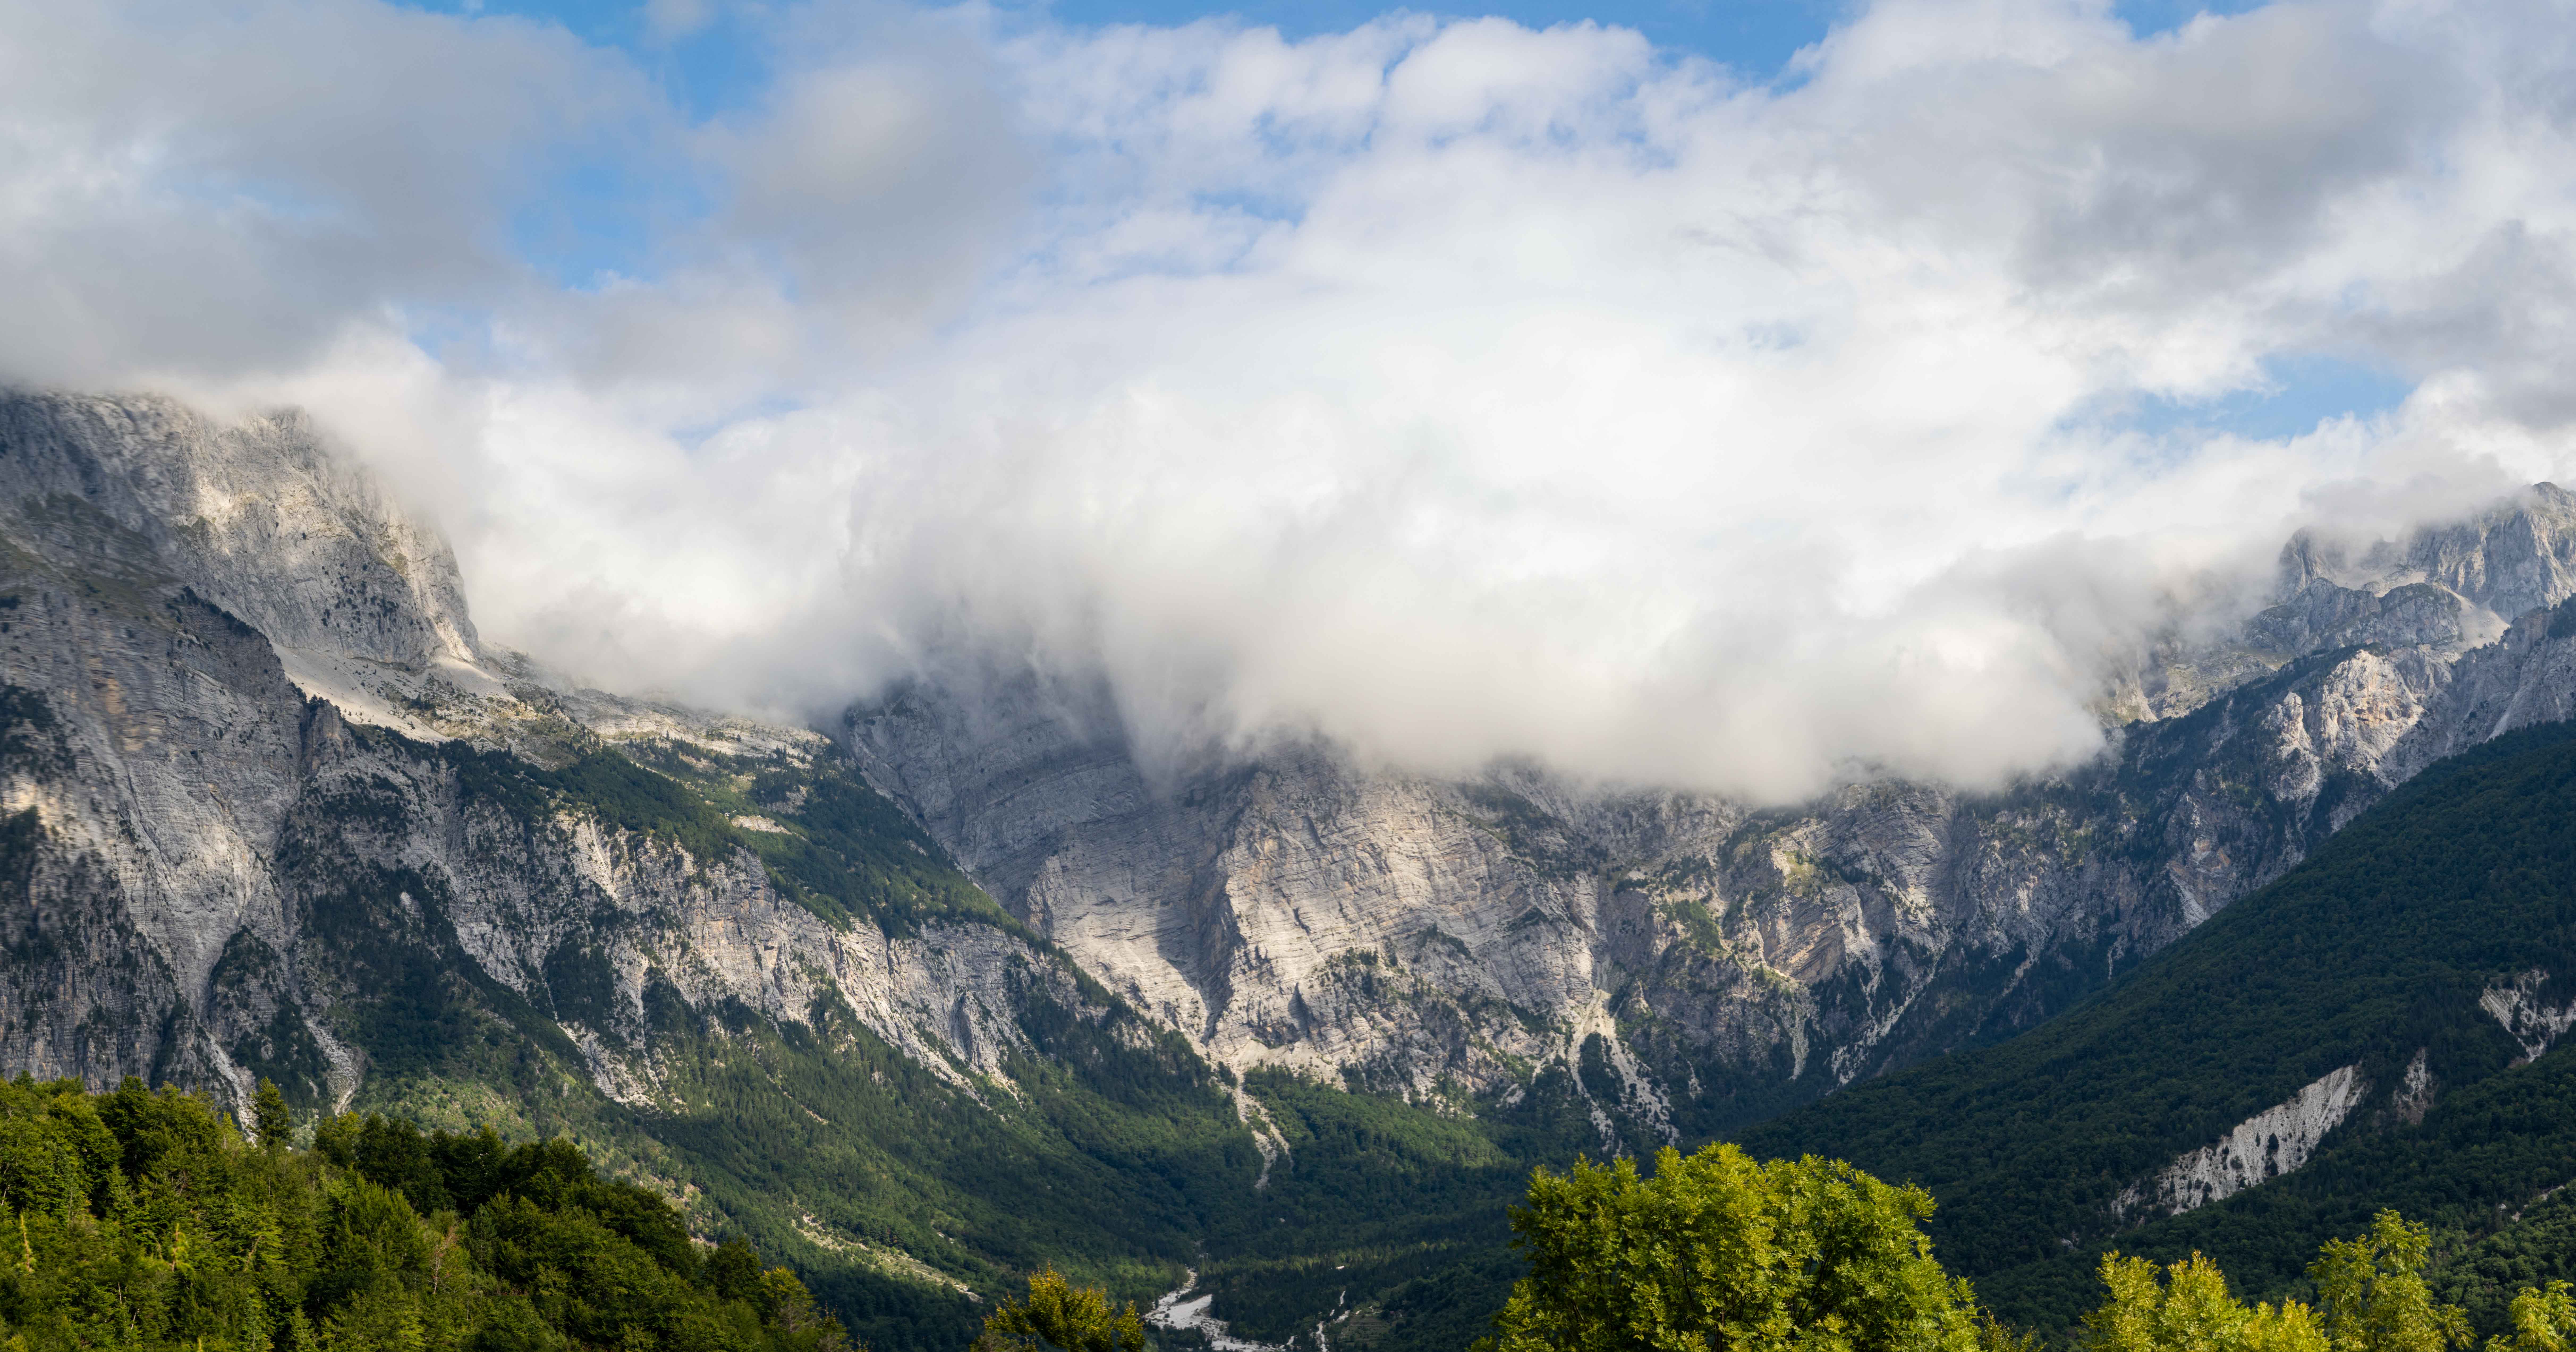
Merging multiple images into panoramas is a feature available in many editing programs, and it is surprisingly easy to accomplish. A panoramic picture comprises two or more overlapping images stitched together to produce a very wide, tall, or both wide and tall image.
The software for creating panoramas has been readily available for over twenty years and is now included in many RAW development packages. The process is mostly automated, making stitching straightforward. However, there are steps you can take to further improve and achieve better results.
—
### What is a Panorama?
Panorama photos give the same effect as having a very wide (or tall) sensor. You can get technically precise about it and spend a lot of money on specialist tripod heads, but they are easy to shoot with a tripod or even handheld.
—
### Setting up Your Camera
The most important thing to remember is to keep all the settings the same through the exposures. The focal length, focus distance, white balance, and exposure values need to be locked. Let’s look at each option in turn.
#### Focal Length
Choosing the correct focal length for the shot is important. This will vary depending on your system and the lenses you own.
For example, shooting with Micro Four Thirds, panoramas can be shot at 7mm (14mm equivalent on a 35mm sensor) because the lens has very little inherent distortion. However, such a wide-angle lens can create some strange and interesting results when images are stitched together.
Generally, shooting between 12-40mm works well depending on the size and distance of the background subject and how you want it to appear in the image.
#### Focus Distance
Typically, for a panorama, you want sharpness from front to back. Focus at or just beyond the hyperfocal distance — the closest point at which you can focus while still having infinity in focus — to maximize depth of field.
For example, with a 12mm lens at f/11, the hyperfocal distance might be approximately 0.86 metres, with everything from 0.43 metres to infinity in focus.
Apps like PhotoPills help you calculate this for your specific camera, lens, and f-number combination.
Once focused, switch your lens to manual focus and lock that distance.
#### White Balance
Most of the time, auto white balance works well, but with panoramas, it might change across the series of images, especially when parts of the scene are in shadow while others are in daylight.
Set the white balance according to the dominant lighting conditions. Many cameras allow you to measure ambient light color using a neutral white card and save that as a custom preset to use throughout the shoot.
#### Exposure Value
Consistent exposure is essential to avoid bands of different brightnesses across the panorama.
Two approaches are common:
– Shooting in manual mode with fixed ISO to maintain consistent exposure across shots.
– Learning to keep settings constant without fully releasing the shutter between shots (handheld panoramas).
Using the first method is best with a tripod; the second can work well for impromptu handheld panoramas.
—
### Shooting Technique
Before shooting, think about the composition of the final image. Aim for a balanced photo, often using a vertical line of symmetry with equal visual weight on both sides. This might be two buildings, a person and a tree, or hillsides flanking a valley.
Include something interesting in the middle of the frame.
Take a meter reading of the brightest part of the scene and set exposure to avoid blown-out highlights. Be aware that the sky’s brightness may vary significantly across the panorama.
If the scene has a large tonal range, consider exposure bracketing to create a High Dynamic Range (HDR) image. Most cameras support bracketing and may even combine multiple exposures into one HDR frame automatically.
Use portrait orientation to make the image taller, and shoot beyond your intended frame edges to allow cropping and distortion correction in post-processing.
Keeping the camera at a 90° angle to the ground and parallel to the horizon yields the best results. Use your tripod’s bubble level and camera level gauge to ensure this.
Align compositional gridlines in your viewfinder with the horizon at each position as you pan across the scene.
Begin shooting, typically moving from left to right. Keep the lens pivoting around a fixed point on the ground. Each frame should overlap the previous by at least a third.
Shooting additional frames per position can be useful for dynamic landscapes with moving elements (e.g., wildlife, grass, branches) so you can select the best images later.
—
### W Pattern Shooting
Sometimes, shooting in a W pattern adds frames above and below the main panorama, providing more options for cropping and composition.
Note that not all panorama software supports this method.
—
### Parallax Error and the Nodal Point
Parallax occurs when objects appear differently from varying viewpoints, causing alignment issues in stitched images, especially with near objects.
To minimize parallax:
– Use a specialist tripod head that rotates the camera around the lens’s nodal point.
– Alternatively, mount the camera as far back as possible on the tripod to reduce lateral movement during rotation.
By turning the quick-release plate 90° and positioning the camera body behind the tripod, you can align the lens’s nodal point close to the pivot.
This method works well for natural landscapes but real estate or architectural photography requires more precision with a panoramic mount.
—
### Merging the Images
Various image development and editing tools can merge raw photos into panoramas.
They generally work similarly but vary in handling overlap, parallax, and dynamic scenes like moving waves.
Typically:
– Select all images to be merged.
– Right-click and choose “Merge to Panorama.”
– Let the software do the processing.
Depending on your computer and image size, merging may take a few seconds to longer.
Software options like Lightroom Classic include different blending projections (spherical, cylindrical, perspective), while ON1 Photo Raw adds a mosaic option.
Output formats include DNG raw, TIFF, PSD, or software-specific types.
Most software auto-crops incomplete areas, and Lightroom can fill empty spaces, which works well for simple backgrounds like sky but can produce repeating patterns in detailed areas.
—
### Developing and Editing the Merged Photos
Editing panoramas involves many familiar skills but also unique challenges.
Because the camera rotates around a point, the scene is captured as if on the inside of a cylinder. Flattening this onto a 2D image introduces distortion, which may require correction.
Shooting with a non-level camera can cause leaning buildings or horizons, both fixable with image distortion tools in programs like Photoshop.
In seascapes, moving waves may cause imperfect horizon alignment, where cloning skills are useful.
—
### Recommended Software Programs for Panorama Creation
– Adobe Lightroom Classic
– Adobe Photoshop
– Adobe Photoshop Elements
– ON1 Photo Raw
– Luminar Neo
– Affinity Photo
Standalone software includes:
– ArcSoft Panorama Maker (an early and effective example)
– PTGui
– AutoStitch
– Gigapan Stitch
– Hugin (free but more complex)
DxO ViewPoint is useful for correcting lens distortions before stitching, improving stitching quality.
—
### Printing Panoramic Images
Panoramas capture exceptional detail, making them ideal for large-scale prints.
Because they are much wider (or taller) than standard paper sizes, printing on paper rolls allows utilizing the full image size.
—
### Conclusion
Making landscape panoramas is a rewarding process that improves your camera control and exposure skills.
While this introduction covers the basics, there is more to learn, especially for subjects with geometric shapes.
Simple panoramic landscapes produce unique images that stand out from the ordinary, making it well worth exploring this photography technique.
https://petapixel.com/2025/11/01/how-to-easily-create-eye-catching-panoramic-landscape-photos/


